Lee's Annual Ornament for 2015:
Mid Century Modern California Beach Houses
Every year since 2006, I've made a collection of original ornaments for my friends (each friend gets to choose one; it's fun to guess which each person will choose). This year, I'm making Mid Century Modern California Beach Houses
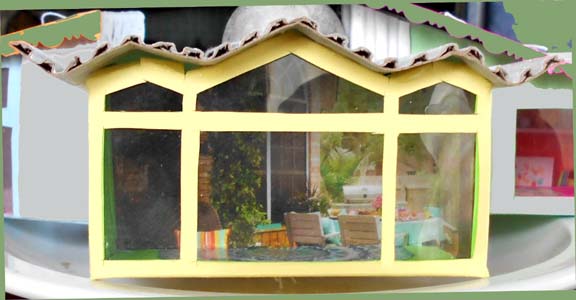
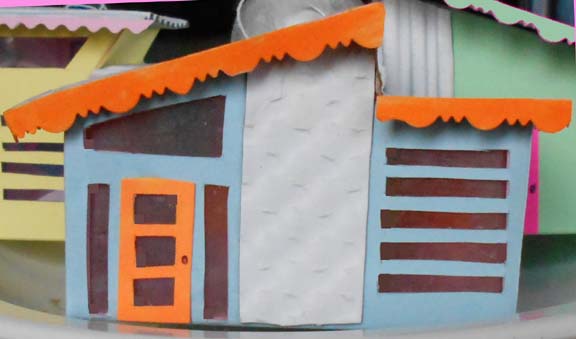
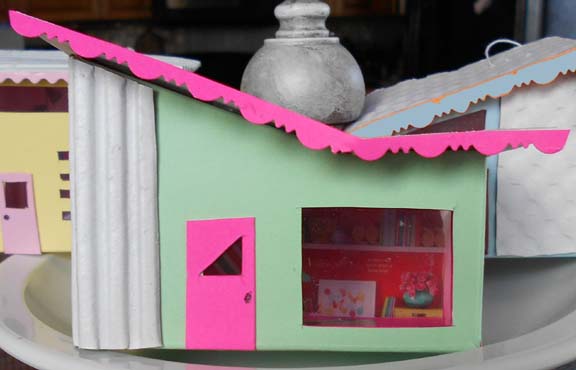
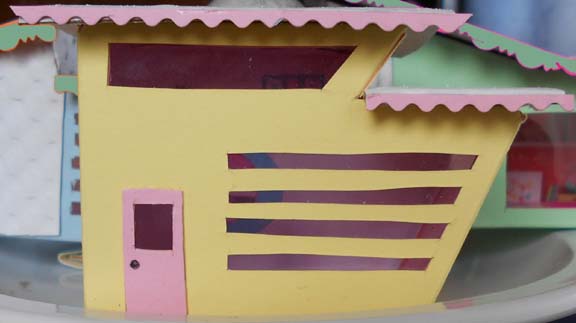
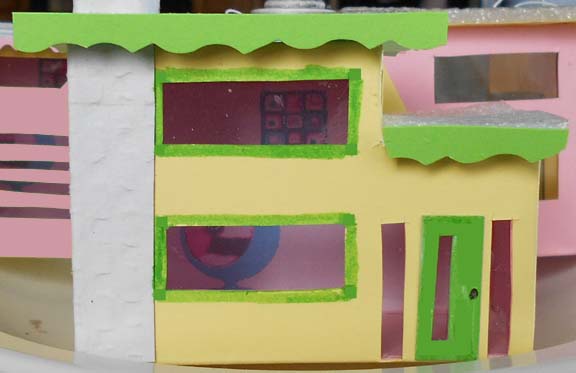
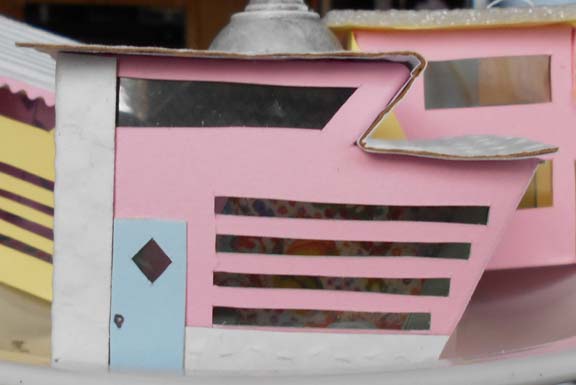
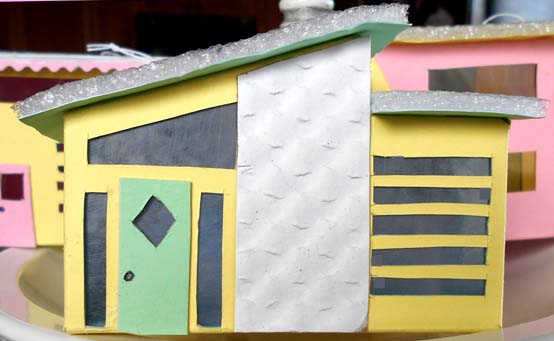
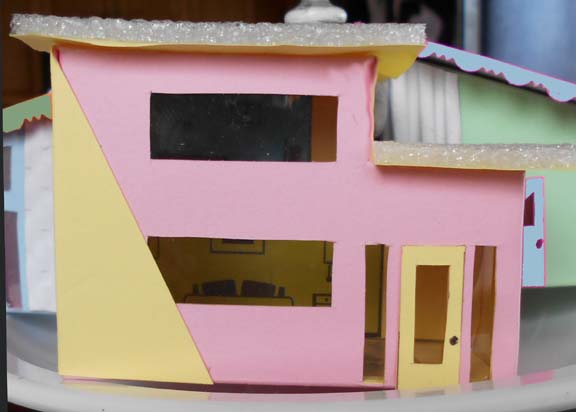
Inspired by paper Putz houses, each is 3" wide by 1-1/2" deep, and is made of 2 layers of contrasting cardstock trimmed with pictures cut from magazines (the scenes inside), fancy-cut cardstock, and some textured packing materials (thin flexible foam, corrugated cardboard, and that neat quilted-looking stuff. I've got yards of that) for the roofs and trim.
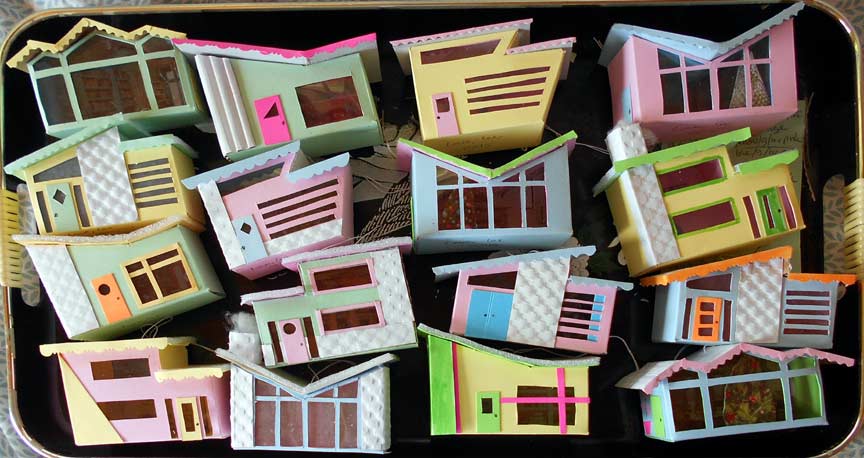
I made a total of 28 houses; here's a group shot of a representative sample:
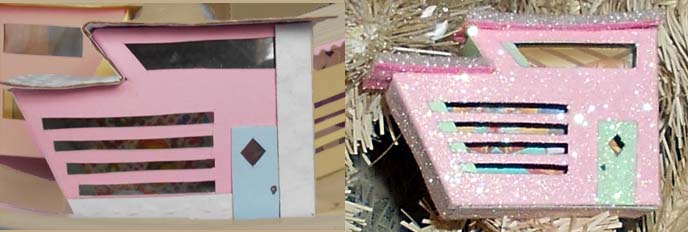
what would they look like with glitter? The glittery one was made last, the plain one was one of my first. You can see my technique improved with practice! Also, the plain one later got blue scalloped trim to hide the funky roof edge; you can see it in the group shot above.
DIY tutorial, with patterns and instructions:
Print templates (below) on cardstock (this will be the color of the interior). Laminate; spray or squeegee glue on back --I squeegeed tacky glue--then press to exterior color cardstock (use a different color for contrast). Let dry.
Contruct: Use a stylus or empty ballpoint pen to score fold lines. Crease and thoroughly flatten fold lines inward toward printing--you may need to make a few release cuts to allow folds in different angles (it's especially important to crease before cutting in skinny areas, like the butterfly roof windows). Cut out house and windows using scissors, xacto blade and straightedge. If you plan to have windows on your door, cut a large space where it will go. Don't cut out the door itself.
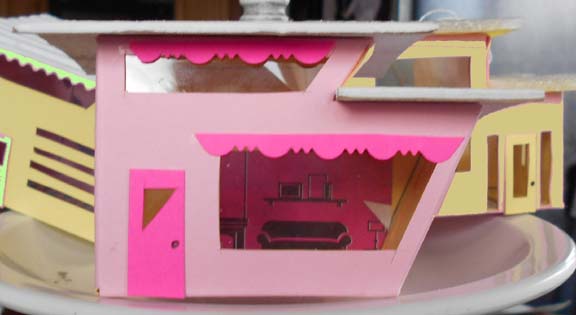
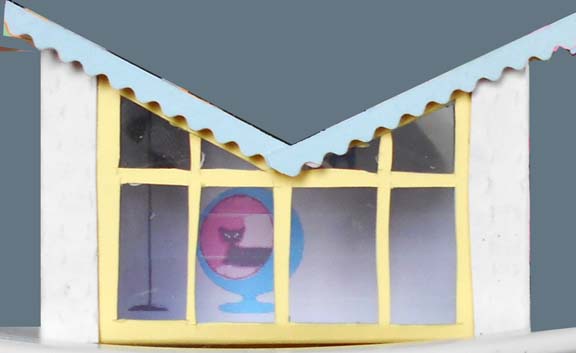
Glue scene (cut from magazine or printed on computer) on back wall, rug on back floor piece. For the small-window houses, these can be just colorful patterns. For the big windows, a real scene looks better.
Use front templates to cut thin plastic just a little smaller than the entire front of each building; this makes it stronger and is easier than cutting individual windows.
(I used acetate sheets made for printing because I didn't think to save all that flat clear packaging plastic and deli lids. I hoard practically everything, but sometimes I miss a trick). The window is critical for the butterfly and ricrac roof houses, they're too fragile without. You could leave the windows off the others if you like. Glue window in place.
(Note: if you're going to glitter, you might want to wait to add the window until after you glitter. That way, you won't have to worry about getting glue on the window.)
Let dry.
Trim: make a door using ideas/sizes from the master pattern sheet (use a hole punch or xacto knife to cut window, draw knob on with pen). Add textured papers for stone or brick, window trim, or other décor. Glue in place and let dry.
Assemble: fold up back floor. Apply glue to tops of side floor tabs and outside of wall tab. Fold into box, clamp upper wall corner. Apply glue to top of front floor, fold up, press inside floor to stick. Let dry. Really.
Add glitter now, if you're going that way. Spray or smear glue all over one or two walls, apply glitter, let dry, then repeat with remaining walls and the bottom. When dry, add the windows.
Optional: for free-standing items inside, glue picture of Christmas tree or furniture or person to cardstock, leaving Ľ” or so at bottom. Cut out tree etc., fold back bottom, and glue in place.
Roof: they’re all about 2” wide; make them overhang the edges by about Ľ”. Cut 1 from trim color cardstock. Check roof fit (especially important with ricrac roof; I made a pattern for that, but lost it. It never fit right, anyway). You can make folded 1-piece roofs for the zag and stairstep houses, OR make 2 separate roofs for the horizontal areas, and use a scrap of cardstock for a wall on the vertical or slanted area. You'll see what I mean when you get there.
Glue cardstock to roofing material, cut out and crease while glue is wet. Trim edges if needed (the thicker roof material doesn’t bend the same way as the cardstock). OR just cut and crease roof from roofing material if you don't want contrasting eaves.
Make sure the roof tabs on house are folded in to match the roofline. Apply glue to the folded edges of the tabs. Use a needle and crochet thread to add a hang loop to the roof (I usually forgot this step and had to pull the roof off to do it. Learn from my mistakes.) Put on the roof; you may need to gently press the front and back of house together, they tend to bow out. Hold the roof in place at creases for a minute or so until glue sticks well. Let dry.
More trim: use scallop scissors to cut strips of contrast color cardstock and glue to eaves, above windows, along base (not all on one house). A wider strip of scalloped cardstock can be fashioned into an awning. Holepunched shapes can be used as wall trim. Trim can hide unsightly gaps, cover glue spots, and make a dull house exciting. For instance, the non-glitter house in the comparison later got scalloped blue trim to hide the funky roofline; you can see it in the group shot. (touch up the glitter if you're using it) Have fun! And let dry.
one more idea: punch a hole or cut an X in the side of the house and push a small LED light through. I use the lights on my pre-lit tree. Try to place the hole so the light is hidden; but even if the bulb shows, the effect is Ab-Fab!
The templates; two houses on each. Print as "landscape" on cardstock.
full butterfly and 2/3s slant:

2/3s butterfly and ricrac:

zagroof and stairstep:

use these front templates to cut the windows

here's the master pattern to design your own rooflines.

A few more pictures:


HOME
